目标
光栅化2D点(就是在二维数组上画点,了解色彩的基本原理,并解决图像的输出问题)。
- 定义颜色(ColorRGBA)类
- 定义图像(Image)类
- 创建光栅器,实现在数组上画点。
- 把图像输出到窗口
实现
定义颜色类
创建ColorRGBA类,用来表达一种颜色。每种颜色有red、green、blue、alpha四个通道,每个通道使用1字节存储,共4字节,正好可以用一个int来表示。
package net.jmecn.math;

/**
 * 颜色类。
 * 每种颜色有red、green、blue、alpha四个通道,每个通道使用1字节存储。
 *
 * @author yanmaoyuan
 *
 */
public class ColorRGBA {

    public byte r;
    public byte g;
    public byte b;
    public byte a;

    public static final ColorRGBA WHITE = new ColorRGBA(0xFFFFFFFF);
    public static final ColorRGBA BLACK = new ColorRGBA(0x000000FF);
    public static final ColorRGBA RED = new ColorRGBA(0xFF0000FF);
    public static final ColorRGBA GREEN = new ColorRGBA(0x00FF00FF);
    public static final ColorRGBA BLUE = new ColorRGBA(0x0000FFFF);
    public static final ColorRGBA DARKGRAY = new ColorRGBA(0x666666FF);

    public ColorRGBA() {
        r = g = b = a = (byte) 0xFF;
    }

    public ColorRGBA(int color) {
        r = (byte) ((color >> 24) & 0xFF);
        g = (byte) ((color >> 16) & 0xFF);
        b = (byte) ((color >> 8) & 0xFF);
        a = (byte) (color & 0xFF);
    }
}
我把 ColorRGBA 类归于 net.jmecn.math 包,主要是学习 jMonkeyEngine 的做法。因为 ColorRGBA 类可能也会有 add、subtract、mult、divde等运算。
定义图像类
既然每个像素需要4个字节,那么一幅宽为 width 、高为 height 的图像,就需要一个长度为 width * height * 4 的 byte 数组来存储了。Image 类的定义如下:
package net.jmecn.renderer;

/**
 * 用于保存图像数据。 图像格式采用4BYTE_RGBA。
 *
 * @author yanmaoyuan
 *
 */
public class Image {

    // 图片的宽度
    protected final int width;
    // 图片的高度
    protected final int height;
    // 颜色数据
    protected final byte[] components;

    public Image(int width, int height) {
        this.width = width;
        this.height = height;
        this.components = new byte[width * height * 4];
    }

    public int getWidth() {
        return width;
    }

    public int getHeight() {
        return height;
    }

    public byte[] getComponents() {
        return components;
    }

}
在很多其他的类库中,这个Image类也被称作Bitmap,一般用于表示内存中的位图。它的作用和 BufferedImage 类很相似,只是简化了许多。
光栅器
终于到光栅器了。
package net.jmecn.renderer;

import net.jmecn.math.ColorRGBA;

/**
 * 光栅器,用于绘制基本形状。
 *
 * @author yanmaoyuan
 *
 */
public class ImageRaster {

    private int width;
    private int height;
    private byte[] components;

    public ImageRaster(Image image) {
        this.width = image.getWidth();
        this.height = image.getHeight();
        this.components = image.getComponents();
    }

    /**
     * 纯色填充
     *
     * @param color
     */
    public void fill(ColorRGBA color) {
        int length = width * height;
        for (int i = 0; i < length; i++) {
            int index = i * 4;

            // 使用一个判断,避免无谓的赋值。
            if (components[index] != color.r || components[index + 1] != color.g
                    || components[index + 2] != color.b || components[index + 3] != color.a) {
                components[index] = color.r;
                components[index + 1] = color.g;
                components[index + 2] = color.b;
                components[index + 3] = color.a;
            }
        }
    }

    /**
     * 画点
     *
     * @param x
     * @param y
     * @param color
     */
    public void drawPixel(int x, int y, ColorRGBA color) {
        if (x < 0 || y < 0 || x >= width || y >= height) {
            return;
        }

        int index = (x + y * width) * 4;

        components[index] = color.r;
        components[index + 1] = color.g;
        components[index + 2] = color.b;
        components[index + 3] = color.a;
    }
}
ImageRaster 的主要作用是把各种图形光栅化,也就是像素化。画点、画线、画三角形是它最基本的功能。我实现的 ImageRaster 类需要一个 Image 来初始化。它保存了对 Image 中 components 数组的引用,主要是为了方便绘图。
渲染器
现在我们有了ColorRGBA、Image、ImageRaster,已经可以开始画图大业了。这时候就需要一个渲染器来使用它们。
package net.jmecn.renderer;

import net.jmecn.math.ColorRGBA;

/**
 * 渲染器
 * @author yanmaoyuan
 *
 */
public class Renderer {

    // 渲染图像
    private Image renderContext;
    // 光栅器
    private ImageRaster imageRaster;
    // 清屏颜色
    private ColorRGBA clearColor = ColorRGBA.WHITE;

    /**
     * 初始化渲染器
     * @param width
     * @param height
     */
    public Renderer(int width, int height) {
        renderContext = new Image(width, height);
        imageRaster = new ImageRaster(renderContext);
    }

    /**
     * 设置背景色
     * @param color
     */
    public void setBackgroundColor(ColorRGBA color) {
        if (color != null) {
            this.clearColor = color;
        }
    }

    /**
     * 使用背景色填充图像数据
     */
    public void clear() {
        imageRaster.fill(clearColor);
    }

    /**
     * 获得渲染好的图像
     * @return
     */
    public Image getRenderContext() {
        return renderContext;
    }

    /**
     * 获得光栅器
     * @return
     */
    public ImageRaster getImageRaster() {
        return imageRaster;
    }
}
这个 Renderer 非常简陋,它的主要作用就是保存 Image 和 ImageRaster。使用时先调用 clear() 清屏,然后通过 ImageRaster 画图。渲染好的图像可以通过 getRenderContext() 获得。
现在修改一下 Application,增加一个Renderer类型的私有成员,并在start()方法中实例化。
// 渲染器
private Renderer renderer;

/**
 * 启动程序
 */
public void start() {
    // 计时器
    long startTime = System.nanoTime();
    long previousTime = System.nanoTime();
    long deltaTime;
    float delta;

    // 创建主窗口
    screen = new Screen(width, height, title);

    // 创建渲染器
    renderer = new Renderer(width, height);       // <---------
    renderer.setBackgroundColor(ColorRGBA.BLACK); // <---------

    // 初始化
    initialize();

    while (isRunning) {
        // ...

    }

    // ...
}
注意,在上面的代码中,我省略了start()方法内的很多代码,只突出实例化 renderer 的两条语句。
继续修改 Application 类的 render 方法,把渲染器用起来。
/**
 * 绘制场景
 *
 * @param delta
 */
protected void render(float delta) {
    // 清空场景
    renderer.clear();

    // 绘制一个方块
    ImageRaster raster = renderer.getImageRaster();
    for(int y=100; y<200; y++) {
        for(int x = 100; x<200; x++) {
            raster.drawPixel(x, y, ColorRGBA.RED);
        }
    }

    // 交换画布缓冲区,显示画面
    screen.swapBuffer(framePerSecond);
}
把图像输出到窗口
遗憾的是,我们现在还看不到使用ImageRaster画出来的东西。下面我们要把Image中的图像刷到画布上。
先修改一下Screen 类的 swapBuffer() 方法,让它多接收 Image 对象作为参数。
/**
 * 交换缓冲区,将渲染结果刷新到画布上。
 * @param image
 * @param fps
 */
public void swapBuffer(Image image, int fps) {
    // 略..
}
然后就可以在 render方法中,把渲染好的图像传给Screen。
/**
 * 绘制场景
 *
 * @param delta
 */
protected void render(float delta) {
    // 清空场景..

    // 绘制一个方块..

    // 交换画布缓冲区,显示画面
    screen.swapBuffer(renderer.getRenderContext(), framePerSecond);
}
不过现在画面还是显示不出来。因为Canvas只认识AWT的Image,不认识我定义的这个Image类。我需要直接操作BufferedImage中的像素数据,把渲染的图像拷贝过去。
继续给 Screen 类动手术。先添加一个私有成员,用来存储 BufferedImage 中的像素数据。
private byte[] displayComponents;
然后,在Screen类的构造方法末尾,初始化这个数组。
public Screen(int width, int height, String title) {
    canvas = new Canvas();

    // 设置画布的尺寸
    Dimension size = new Dimension(width, height);
    canvas.setPreferredSize(size);
    canvas.setMaximumSize(size);
    canvas.setMinimumSize(size);
    canvas.setFocusable(true);

    // 创建主窗口
    frame = new JFrame();
    frame.setDefaultCloseOperation(JFrame.EXIT_ON_CLOSE);
    frame.setResizable(false);
    frame.setSize(width, height);
    frame.setTitle(title);
    frame.add(canvas);// 设置画布
    frame.pack();
    frame.setVisible(true);
    centerScreen();// 窗口居中

    // 焦点集中到画布上,响应用户输入。
    canvas.requestFocus();

    // 创建双缓冲
    canvas.createBufferStrategy(2);
    bufferStrategy = canvas.getBufferStrategy();

    // 创建缓冲图像
    displayImage = new BufferedImage(width, height, BufferedImage.TYPE_3BYTE_BGR);
    // 获得图像中的数组
    displayComponents = ((DataBufferByte)displayImage.getRaster().getDataBuffer()).getData();

}
最重要的是最后一句代码。这里使用AWT原生的光栅器,把BufferedImage中的图像数据提取了出来。
displayComponents = ((DataBufferByte)displayImage.getRaster().getDataBuffer()).getData();
需要注意的是,displayComponents 的结构与创建 BufferedImage 对象时的第三个参数 BufferedImage.TYPE_3BYTE_BGR 密切相关。它表示图像中的每个像素使用3个byte来表示,分别为Blue、Green、Red通道。
下面修改swapBuffer方法,把 Image 中的数据拷贝到 displayComponents 里。
/**
 * 交换缓冲区,将渲染结果刷新到画布上。
 * @param image
 * @param fps
 */
public void swapBuffer(Image image, int fps) {
    // 把渲染好的图像拷贝到BufferedImage中。
    int width = image.getWidth();
    int height = image.getHeight();
    byte[] components = image.getComponents();
    int length = width * height;
    for (int i = 0; i < length; i++) {
        // blue
        displayComponents[i * 3] = components[i * 4 + 2];
        // green
        displayComponents[i * 3 + 1] = components[i * 4 + 1];
        // red
        displayComponents[i * 3 + 2] = components[i * 4];
    }

    Graphics graphics = bufferStrategy.getDrawGraphics();

    // 将BufferedImage绘制到缓冲区
    graphics.drawImage(displayImage, 0, 0, displayImage.getWidth(), displayImage.getHeight(), null);

    // 显示帧率
    graphics.setColor(Color.WHITE);
    graphics.drawString("FPS:" + fps, 2, 16);

    graphics.dispose();

    // 显示图像
    bufferStrategy.show();
}
终于搞完了,运行 Main 类,看看结果吧!

改进
可以预见,在接下来的开发中,会绘制越来越复杂的图形。我不希望每次都重写一遍 render 方法中的绘图代码。所以我得对现在的代码做一点改进。
首先创建 net.jmecn.geom 包,然后创建一个 Drawable 接口。
package net.jmecn.geom;

import net.jmecn.renderer.ImageRaster;

/**
 * 代表一个可渲染物体。
 *
 * @author yanmaoyuan
 *
 */
public interface Drawable {

    public void draw(ImageRaster imageRaster);

}
net.jmecn.geom 包用于定义各种几何形状,它们各自实现 Drawable 接口,使用 ImageRaster 把自己画在 Image 上。
对于画2D点来说,可以这样定义一个Point2D类。
package net.jmecn.geom;
import net.jmecn.math.ColorRGBA;
import net.jmecn.renderer.ImageRaster;

/**
 * 代表一个2D点。
 * @author yanmaoyuan
 *
 */
public class Point2D implements Drawable{

    public int x, y;
    public ColorRGBA color;

    public void draw(ImageRaster raster) {
        raster.drawPixel(x, y, color);
    }
}
再来改进一下 Application 类。
定义一个Drawalbe列表,代表“场景”,用来存储所有需要渲染的几何物体。在构造方法中初始化这个列表。
// 渲染队列
protected List<Drawable> scene;

/**
 * 构造方法
 */
public Application() {
    width = 800;
    height = 600;
    title = "JSoftwareRenderer";

    // 初始化渲染队列
    scene = new ArrayList<Drawable>(); // <------

    // 改变运行状态
    isRunning = true;

    // 关闭固定帧率
    setFrameRate(0);
}
修改render方法,遍历场景中的物体,逐一渲染它们。这样就可以在render方法中渲染任意几何体了。
/**
 * 绘制场景
 *
 * @param delta
 */
protected void render(float delta) {
    // 清空场景
    renderer.clear();

    // 绘制场景
    int len = scene.size();
    if (len > 0) {
        for (int i = 0; i < len; i++) {
            scene.get(i).draw(renderer.getImageRaster());
        }
    }

    // 交换画布缓冲区,显示画面
    screen.swapBuffer(renderer.getRenderContext(), framePerSecond);
}
把 initialize() 和 update() 方法改成抽象方法,Application 改成抽象类。
/**
 * 应用程序主类
 *
 * @author yanmaoyuan
 */
public abstract class Application {

    // 其他代码省略...

    /**
     * 初始化
     */
    protected abstract void initialize();

    /**
     * 更新场景
     *
     * @param delta
     */
    protected abstract void update(float delta);

    // 其他代码省略...
}
这时候我们的Main类开始报错了,因为抽象类不能实例化。现在Application充当了“引擎”,它的子类只需要在 initialize() 中创建几何体,然后添加到场景中,窗口就可以渲染出图像了。
我们让Main继承Application,然后改写一下main方法。
package net.jmecn;
import net.jmecn.geom.Point2D;
import net.jmecn.math.ColorRGBA;
/**
* 程序运行入口
*
* @author yanmaoyuan
*
*/
public class Main extends Application {
public static void main(String[] args) {
Main app = new Main();
app.setResolution(720, 405);
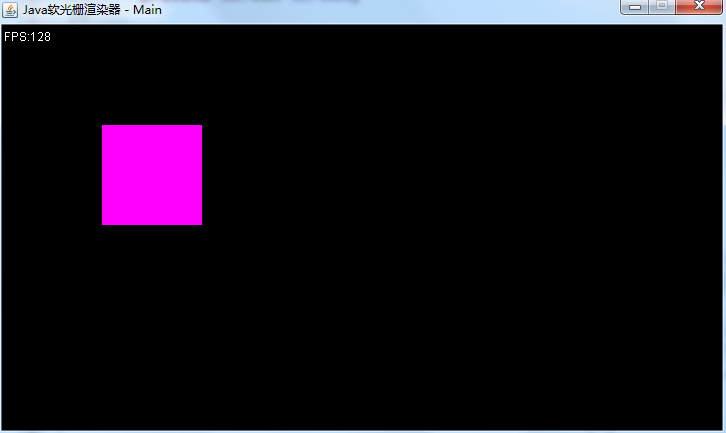
app.setTitle("Java软光栅渲染器 - Main");
app.setFrameRate(120);
app.start();
}
@Override
protected void initialize() {
// 粉色
ColorRGBA pink = new ColorRGBA(0xFF00FFFF);
// 画一个方块
for (int y = 100; y < 200; y++) {
for (int x = 100; x < 200; x++) {
Point2D point = new Point2D();
point.x = x;
point.y = y;
point.color = pink;
// 添加到场景中
scene.add(point);
}
}
}
@Override
protected void update(float delta) {
// TODO Auto-generated method stub
}
}
运行结果如下:
其他例子
经过上一步改造,接下来写测试代码就简单多了。创建 net.jmecn.exmaples 包,在这个包中创建 Test2DPoints 类。
package net.jmecn.examples;
import java.util.Random;
import net.jmecn.Application;
import net.jmecn.geom.Point2D;
import net.jmecn.math.ColorRGBA;
/**
* 绘制2D点
*
* @author yanmaoyuan
*
*/
public class Test2DPoints extends Application {
public static void main(String[] args) {
Test2DPoints app = new Test2DPoints();
app.setResolution(1080, 720);
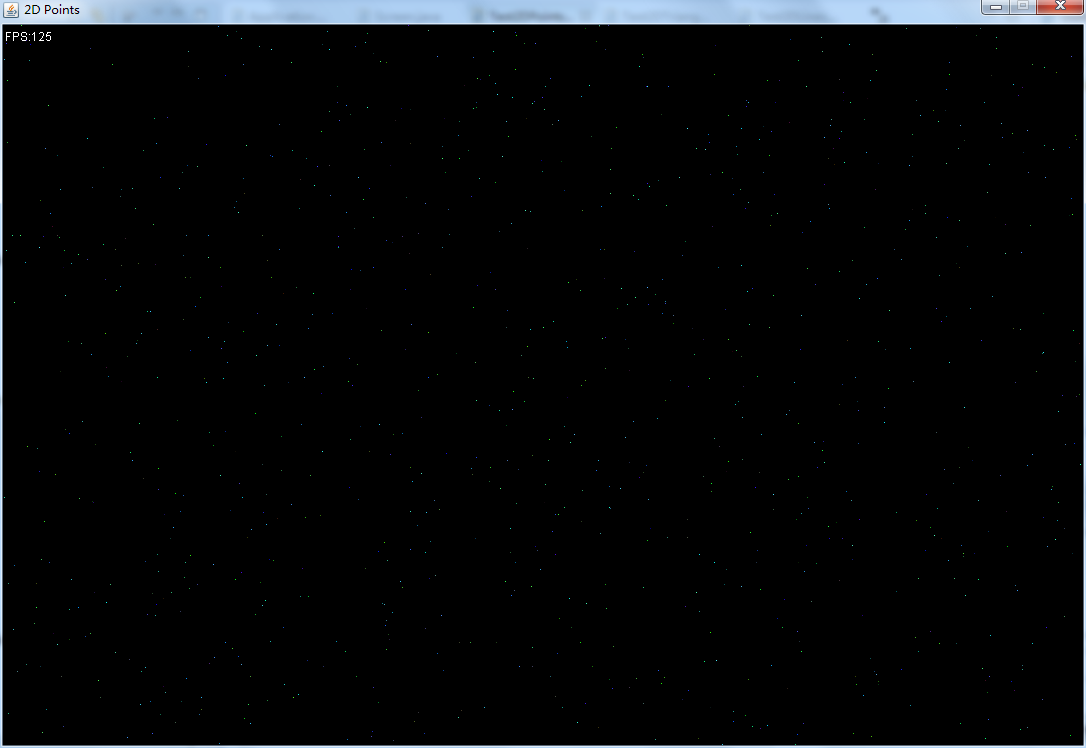
app.setTitle("2D Points");
app.setFrameRate(120);
app.start();
}
/**
* 初始化
*/
@Override
protected void initialize() {
Random rand = new Random();
/**
* 随机生成点
*/
for(int i=0; i<1000; i++) {
Point2D point = new Point2D();
point.x = rand.nextInt(width);
point.y = rand.nextInt(height);
point.color = new ColorRGBA(rand.nextInt(0x4FFFFFFF));
// 添加到场景中
scene.add(point);
}
}
@Override
protected void update(float delta) {
}
}
这个例子随机生成了1000个不同颜色的2D点,并为它们随机产生了颜色。
总结
目标超额达成。不仅完成了光栅化2D点,还对Application进行了重构,可以基于这个抽象类来编写许多不同的小程序了。